Protecting DocuSign with Access for SaaS
This guide covers how to protect your DocuSign account with Access for SaaS.
Pre-Requisites:
- Access for SaaS requires that you have Single Sign-On available in your DocuSign plan.
- A domain you own.
- See DocuSign’s checklist for additional requirements.
- A SAML IdP configured with SAML Attributes configured.
⏲️ Time to complete: 10 minutes
Create the Access for SaaS application
-
On the Zero Trust Dashboard, go to Access > Applications.
-
Select Add an Application.
-
Select SaaS.
-
Use the following configuration:
- Set the Application to DocuSign.
- Put placeholder values in EntityID and Assertion Consumer Service URL (e.g.
https://example.com). We’ll come back and update these. - Set Name ID Format to: Unique ID.
-
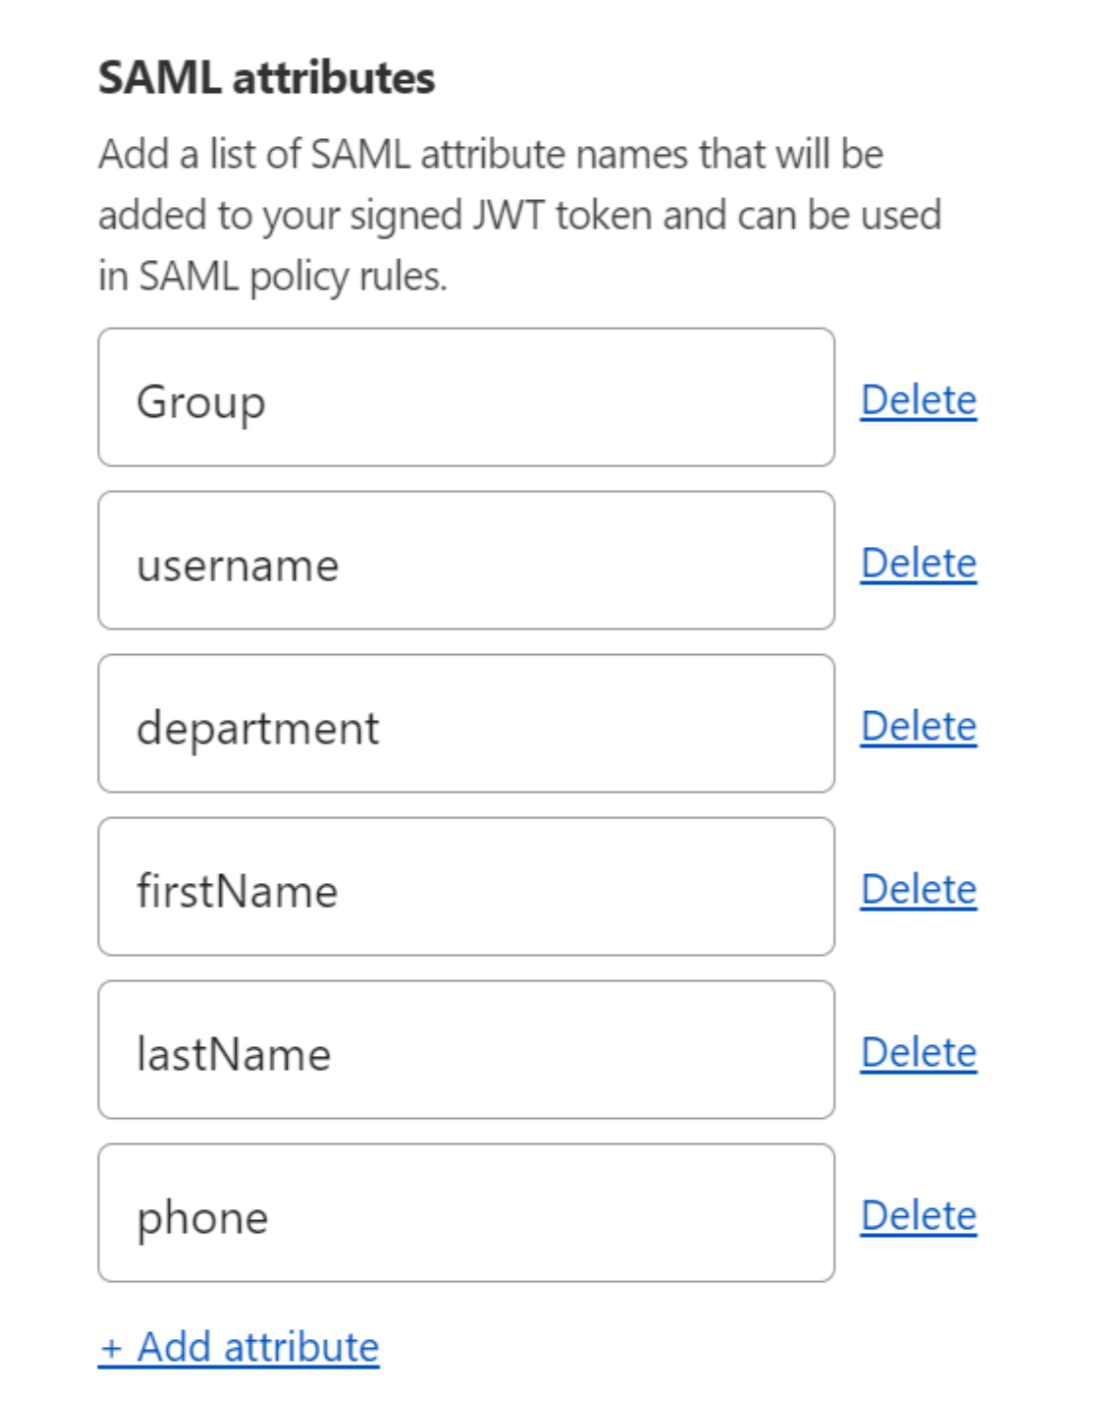
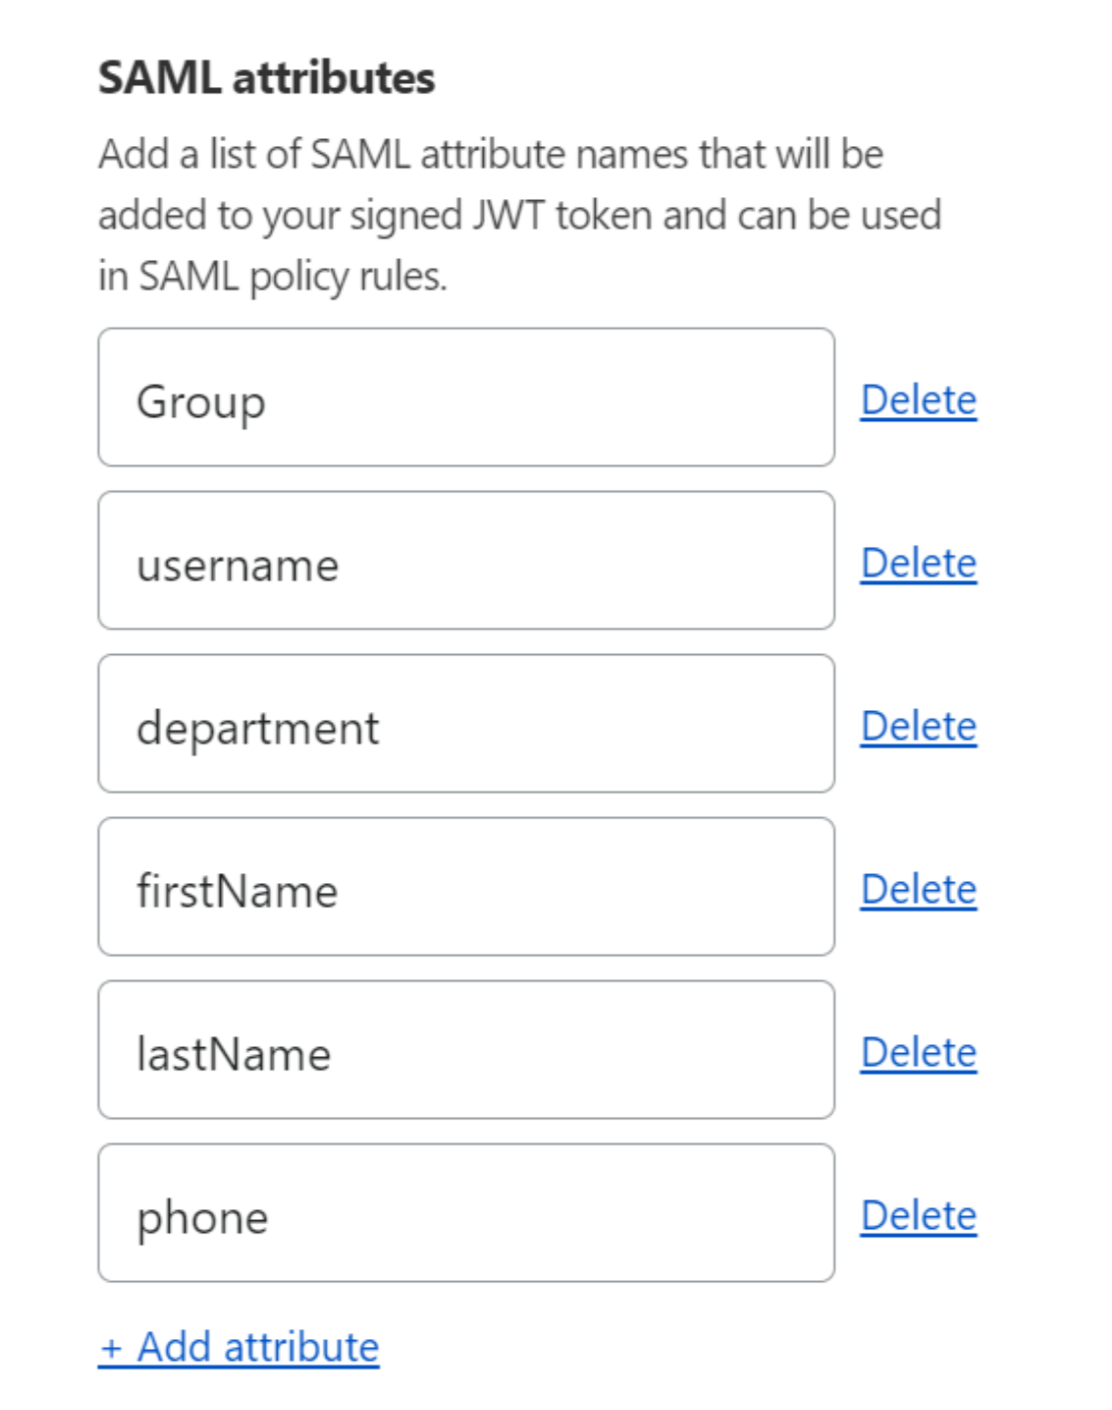
DocuSign requires SAML attributes to do Just In Time user provisioning.
- Ensure you are collecting SAML attributes from your IdP:

-
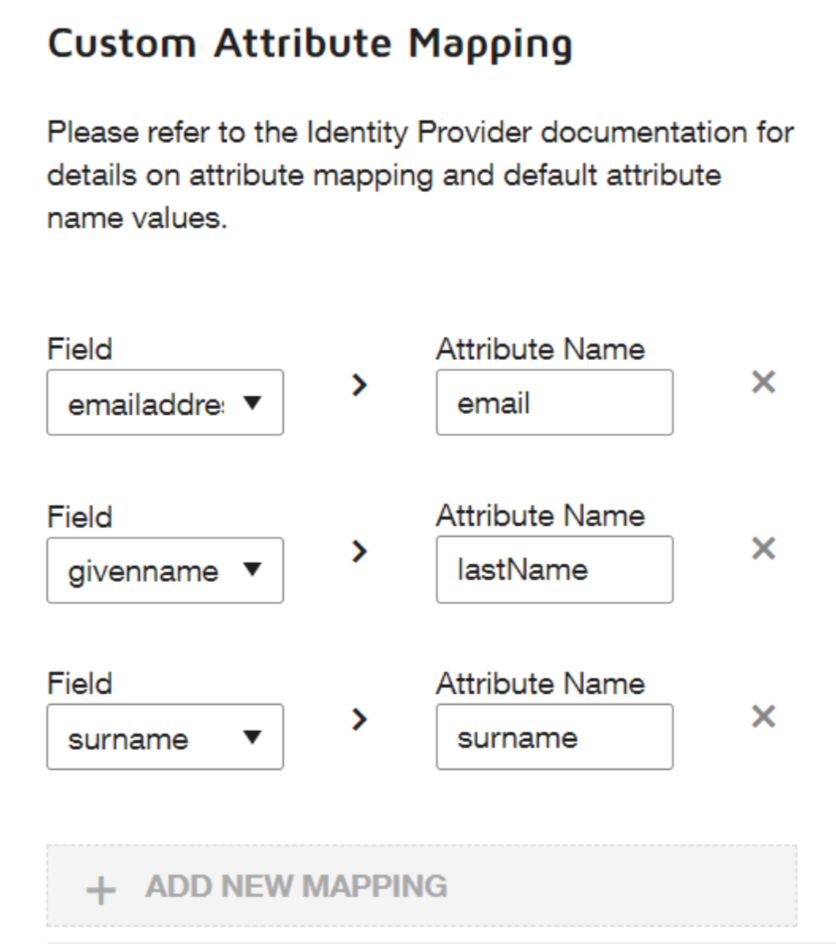
These IdP SAML values can then be mapped to the following DocuSign SAML attributes:
- Surname
- Givenname
-
Set an Access policy (for example, create a policy based on Emails ending in @example.com).
-
Copy and save SSO Endpoint, Entity ID and Public Key.
## Configure your DocuSign SSO instance
-
Ensure you have a domain claimed in Zendesk.
-
From the DocuSign Admin dashboard, click Identity Providers.
-
On the Identity Providers page, click ADD IDENTITY PROVIDER. Use the following mappings from the saved Access Application values:
- Name: Pick your desired name.
- Identity Provider Issuer: Entity ID.
- Identity Provider Login URL: Assertion Consumer Service URL.
-
Save the Identity Provider.
-
Upload your certificate to the DocuSign Identity Provider menu.
-
Configure your SAML Attribute mappings. The Attribute Names should match the values in IdP Value in your Access application.

-
Go back to the Identity Provider’s screen and select Actions > Endpoints. Copy and save the following:
- Service Provider Issuer URL.
- Service Provider Assertion Consumer Service URL.

Finalize your Cloudflare configuration
- Go back to your DocuSign application under Access > Applications.
- Click Edit.
- Use the following mappings:
- EntityID->Service Provider Issuer URL.
- Assertion Consumer Service URL -> Service Provider Assertion Consumer Service URL.
- Save the application.
When ready, enable the SSO for your DocuSign account and you will be able to login to DocuSign via Cloudflare SSO and your Identity Provider.