SAML | Jumpcloud
JumpCloud provides Directory-as-a-Service® to securely connect user identities to systems, apps, files, and networks. Cloudflare Access integrates with JumpCloud using the SAML protocol. This documentation from JumpCloud can help you configure applications within your JumpCloud deployment.
These steps focus on requirements specific to Cloudflare Zero Trust.
Set up Jumpcloud SAML
To set up JumpCloud SAML as your identity provider:
-
Generate a SAML certificate.
Tip: JumpCloud requires that you provide your own certificates for signing SAML assertions. Self-signed certificates are acceptable.
If you do not have a certificate, this command generates one using OpenSSL:
$ openssl genrsa -out samlidp.key 2048 ; openssl req -new -x509 -sha256 -key samlidp.key -out samlidp.crt -days 1095
Generating RSA private key, 2048 bit long modulus
.................................................................................+++++
......................+++++
e is 65537 (0x010001)
When asked to enter a Distinguished Name or a DN to incorporate into your certificate request, you can leave some of these fields blank. Some fields have a default value. Enter a dot (
.) in the field to leave it blank. For example:----- Country Name (2 letter code) [AU]:. State or Province Name (full name) [Some-State]:. Locality Name (eg, city) []:. Organization Name (eg, company) [Internet Widgits Pty Ltd]:. Organizational Unit Name (eg, section) []:. Common Name (e.g. server FQDN or YOUR name) []:JumpCloud SAML IdP Email Address []: -
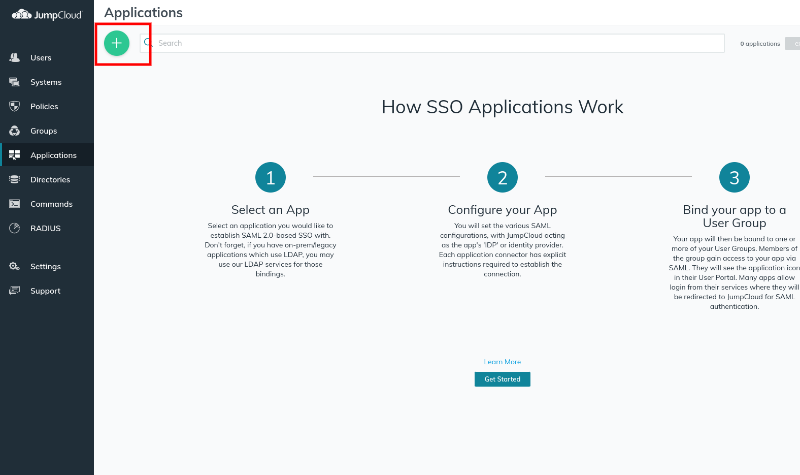
In JumpCloud, select Applications in the left-side menu.
-
Click the + icon at the top-left of the screen to add an application.
-
Choose the SAML option in Application Types.
-
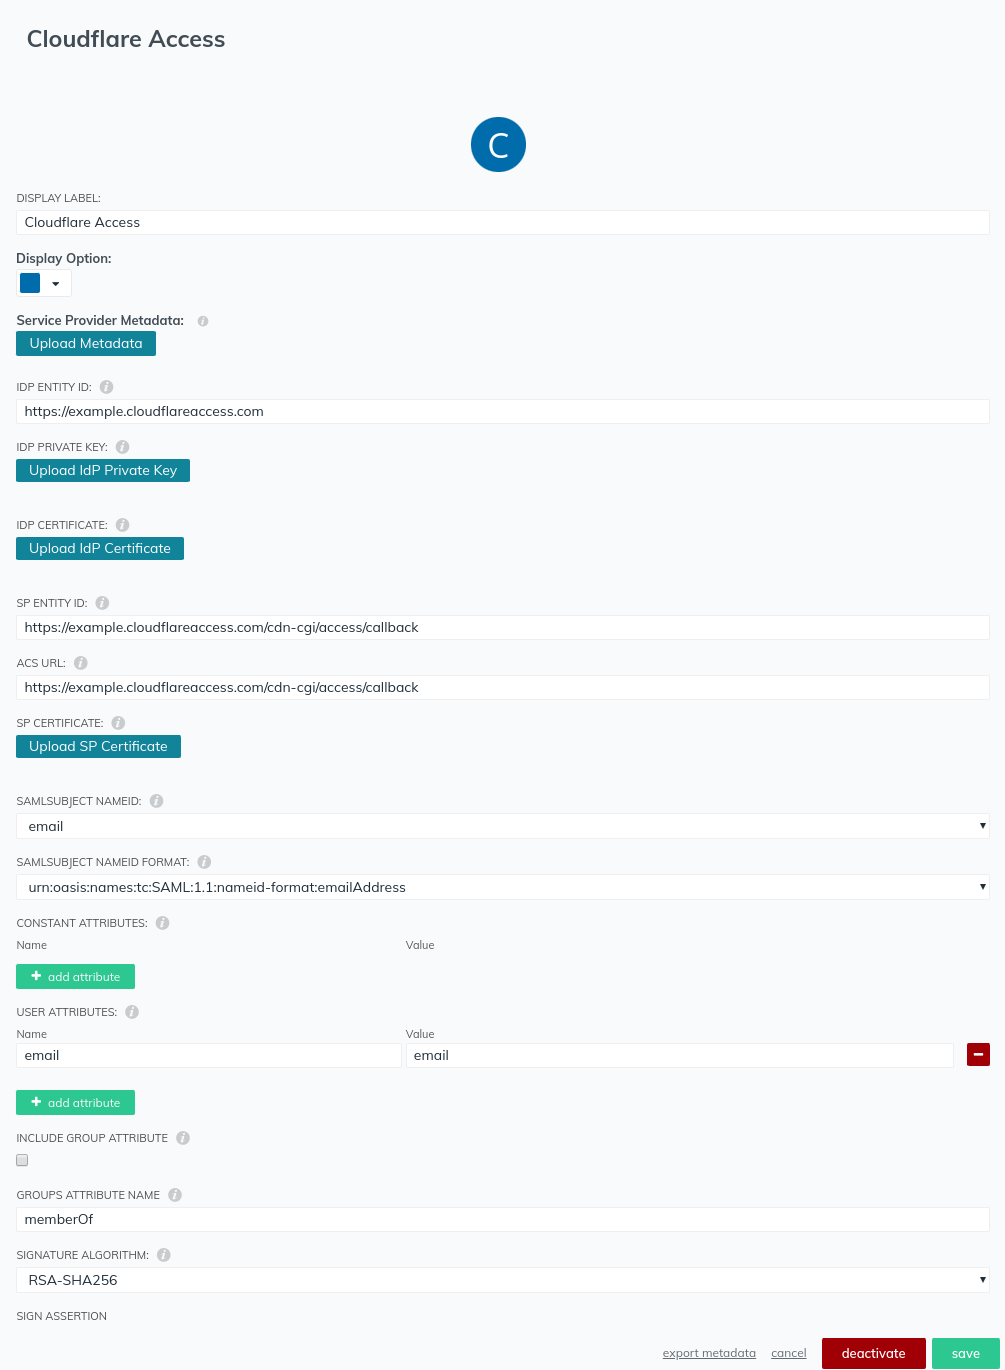
Enter an application name in Display Label.
-
Enter an IdP entity in the IDP IDENTITY ID field.The IdP entity can be anything, but must be unique. We suggest you reference something easily identified, such as your Cloudflare team domain, for example
https://<your-team-name>.cloudflareaccess.com/. -
At the prompt, enter the IdP private key and IdP certificate you previously generated.
-
Set both the SP entity ID and ACS URL to the following callback URL, where
<your-team-name>is your Cloudflare team name :https://<your-team-name>.cloudflareaccess.com/cdn-cgi/access/callback -
Under SAML SUBJECT NAMEID, choose email.
-
Set the SAML SUBJECT NAMEID FORMAT to:
urn:oasis:names:tc:SAML:1.1:nameid-format:emailAddress -
Under USER ATTRIBUTES enter
emailfor the name andemailfor the value. -
Leave other settings at default.
-
Click save.
Remember to assign this application to users or groups.
-
On the Zero Trust dashboard, navigate to Settings > Authentication.
-
Under Login methods, click Add new.
-
Select SAML.
-
Input a Name, a Single Sign on URL, IdP Entity ID or Issuer URL, and Signing Certificate.
-
Click Save.
To test that your connection is working, navigate to Authentication > Login methods and click Test next to the login method you want to test.
Example API configuration
{
  "config": {
    "issuer_url": "jumpcloud",
    "sso_target_url": "https://sso.myexample.jumpcloud.com/saml2/cloudflareaccess",
    "attributes": ["email", "name", "username"],
    "email_attribute_name": "",
    "sign_request": false,
    "idp_public_cert": "MIIDpDCCAoygAwIBAgIGAV2ka+55MA0GCSqGSIb3DQEBCwUAMIGSMQswCQYDVQQGEwJVUzETMBEG\nA1UEC.....GF/Q2/MHadws97cZg\nuTnQyuOqPuHbnN83d/2l1NSYKCbHt24o"
  },
  "type": "saml",
  "name": "jumpcloud saml example"
}