OneLogin OIDC
OneLogin provides SSO identity management. Cloudflare Access supports OneLogin as an OIDC identity provider.
Set up OneLogin OIDC
To set up OneLogin as your identity provider:
-
Log in to your OneLogin admin portal.
-
Select Apps > Custom Connectors.
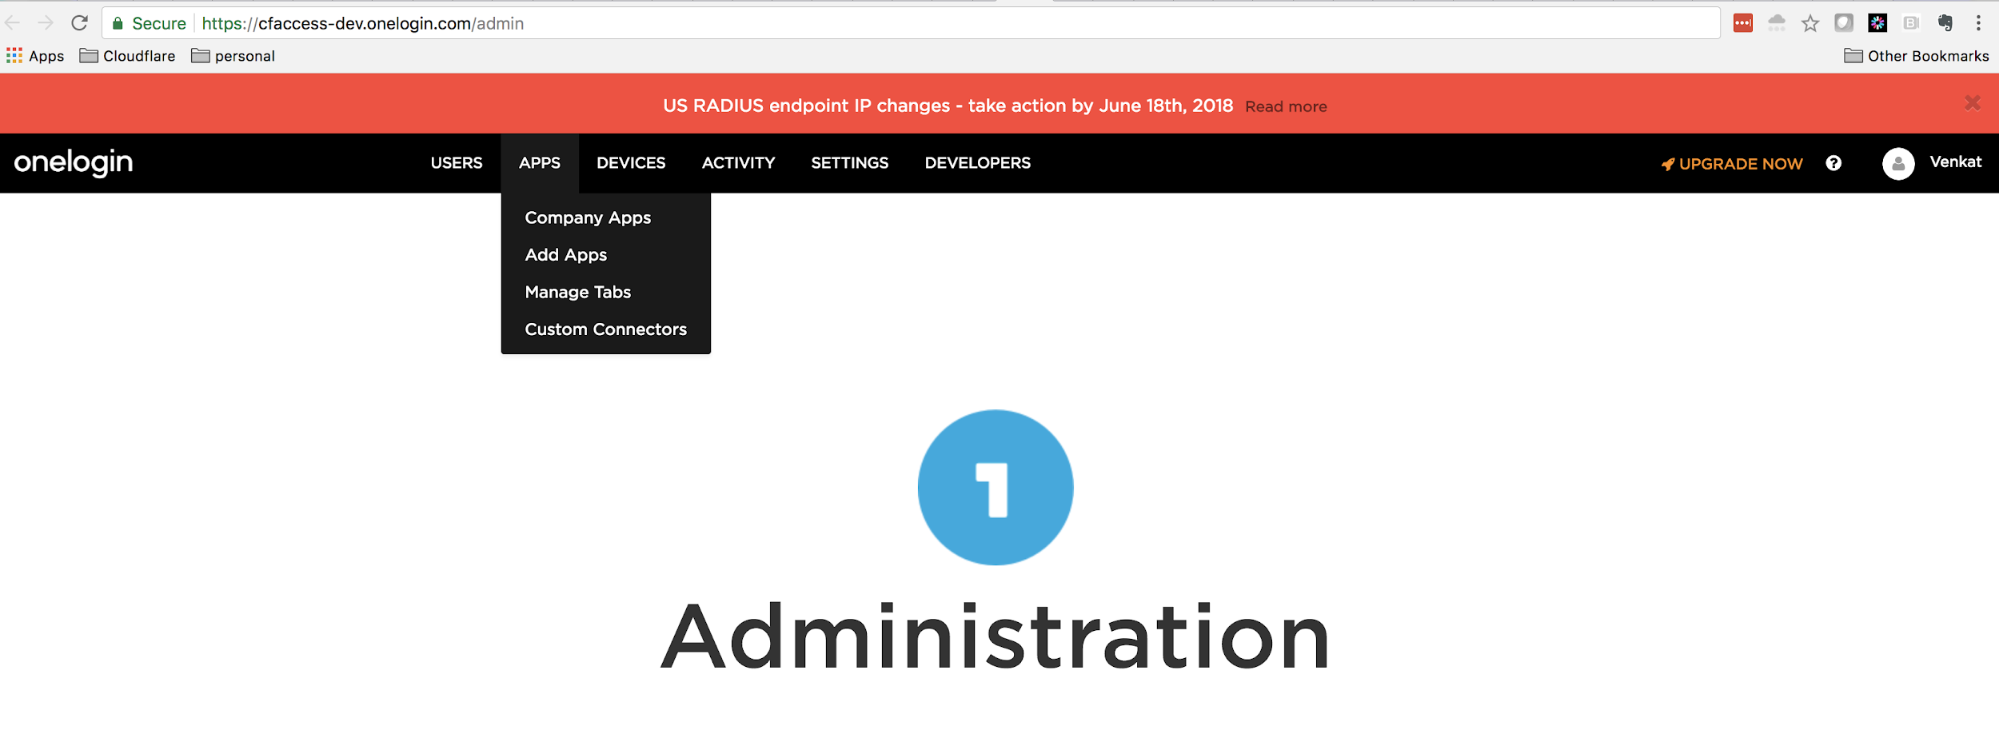
The Custom Connectors card displays.
-
Click New Connector.
-
Name the connector. The connector name card displays. Our example uses
access-oidcfor the connector name.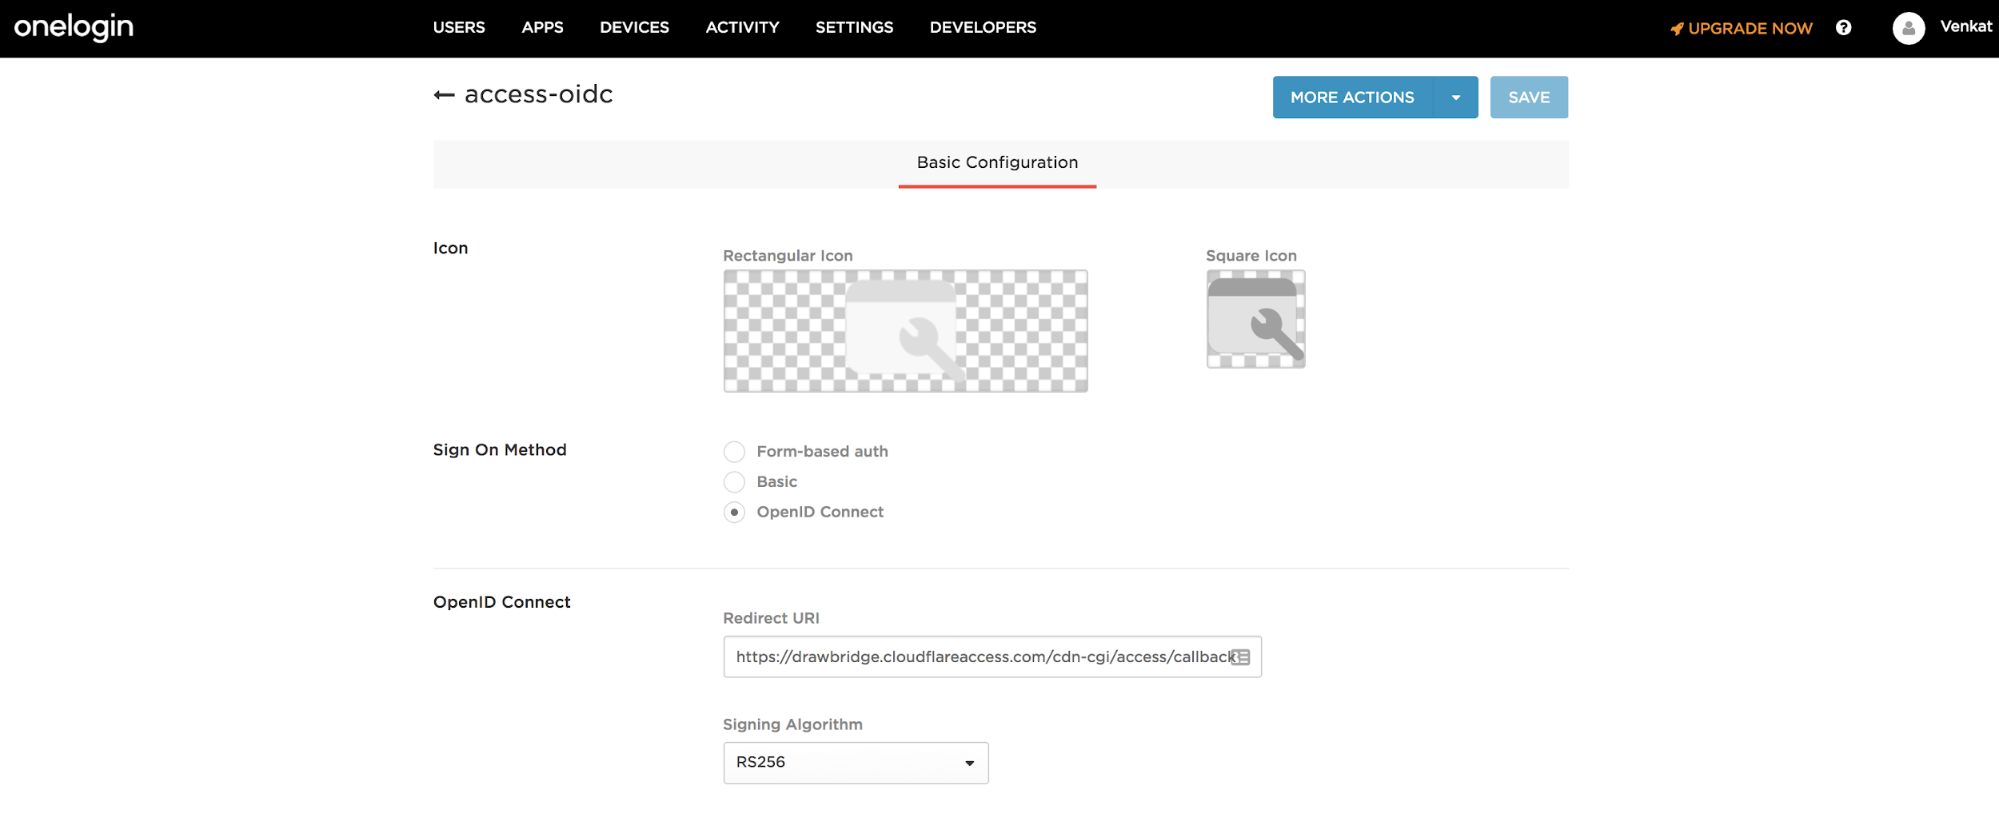
-
In Sign-On Method, select the OpenID Connect option.
-
In the Redirect URI field, enter your team domain followed by this callback at the end of the path:
/cdn-cgi/access/callback. For example:https://<your-team-name>.cloudflareaccess.com/cdn-cgi/access/callback -
Click Save.
-
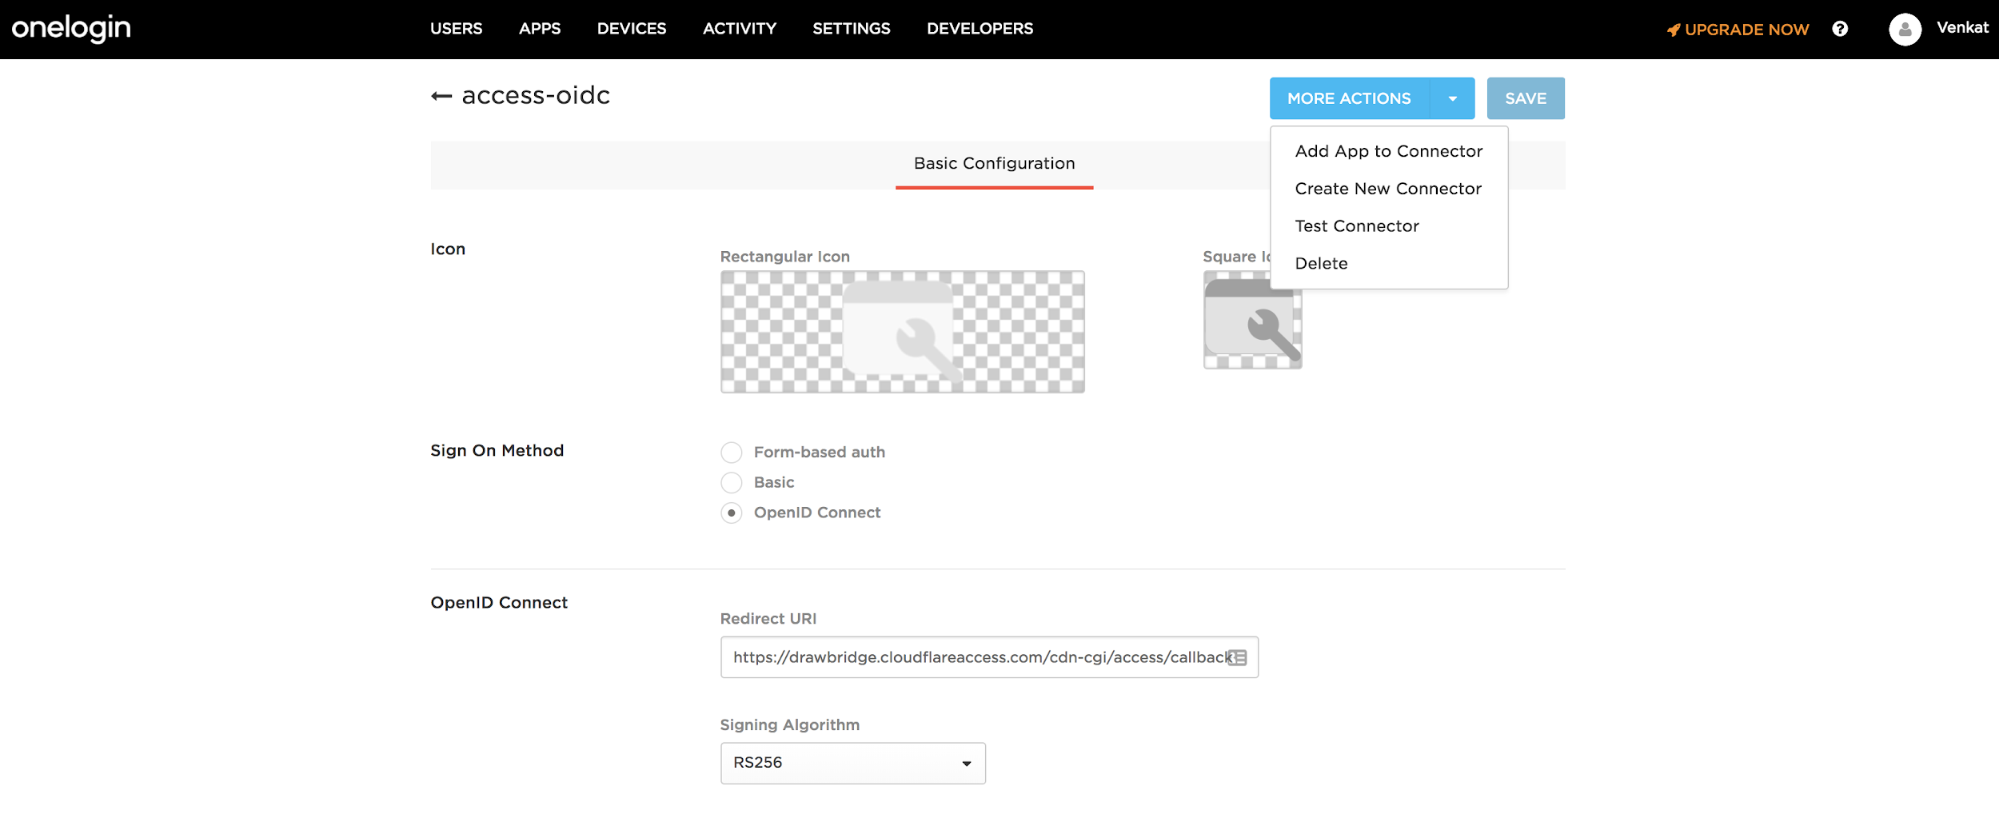
Select More Actions > Add App to Connector.
-
In the Portal section, enter a name for your application in the Display Name field.
-
Click Save.
-
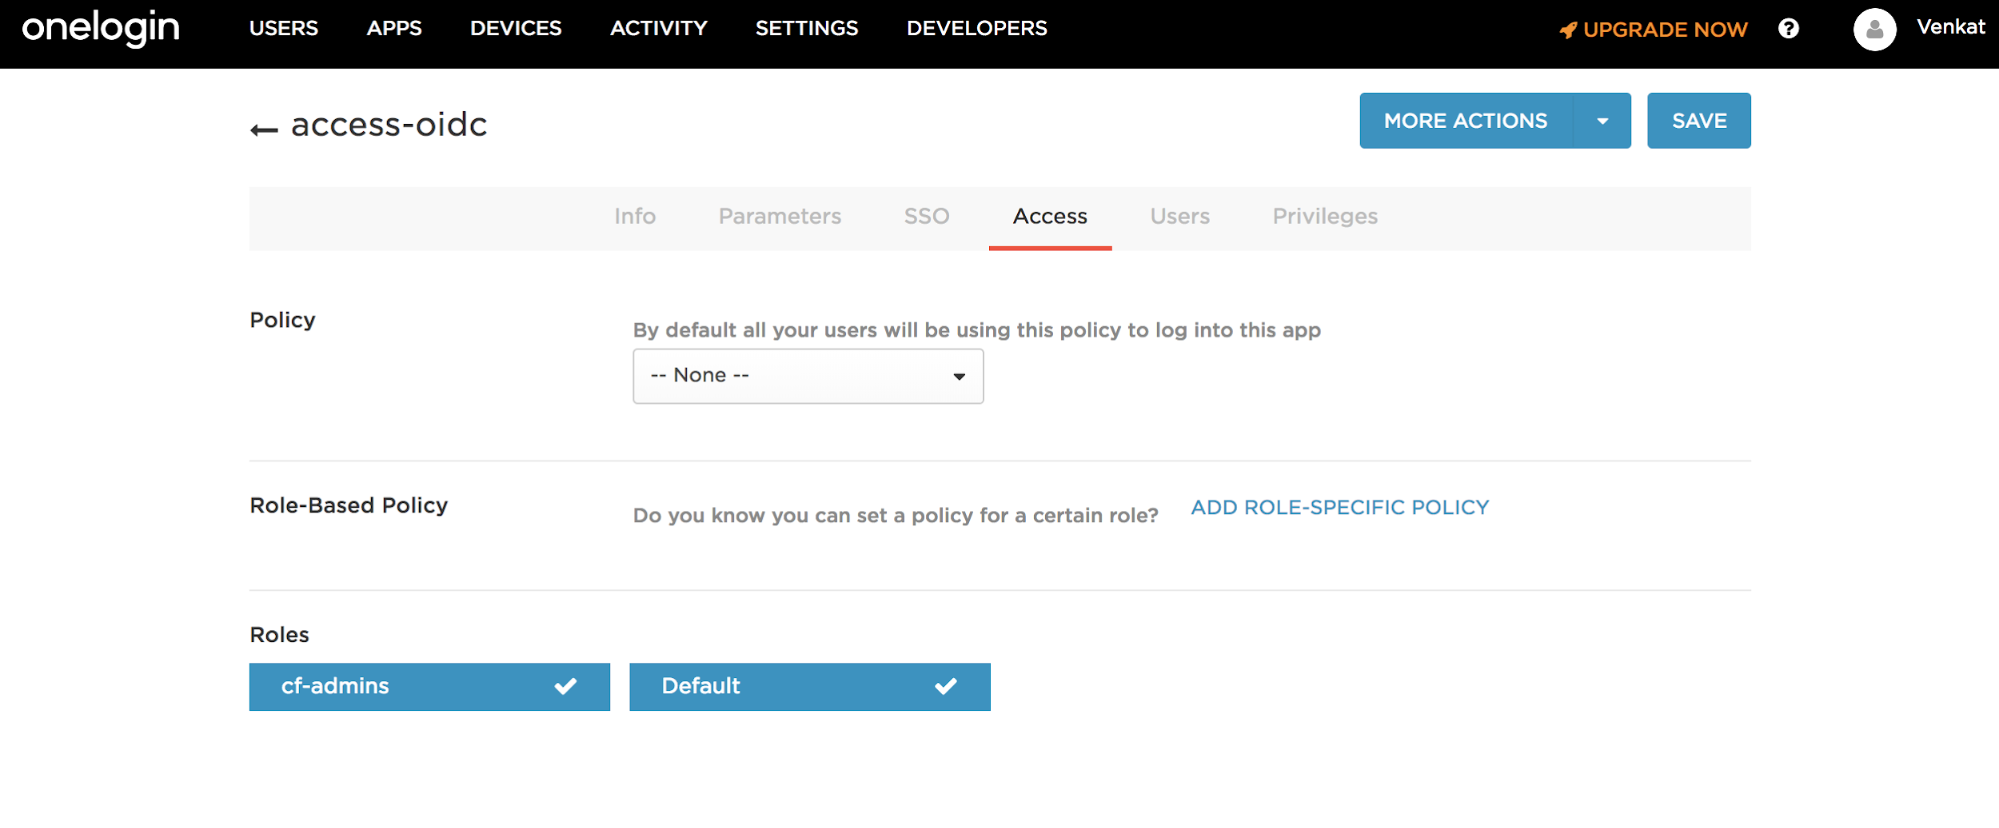
Select the Access tab.
-
Add the Roles that can access this application.
-
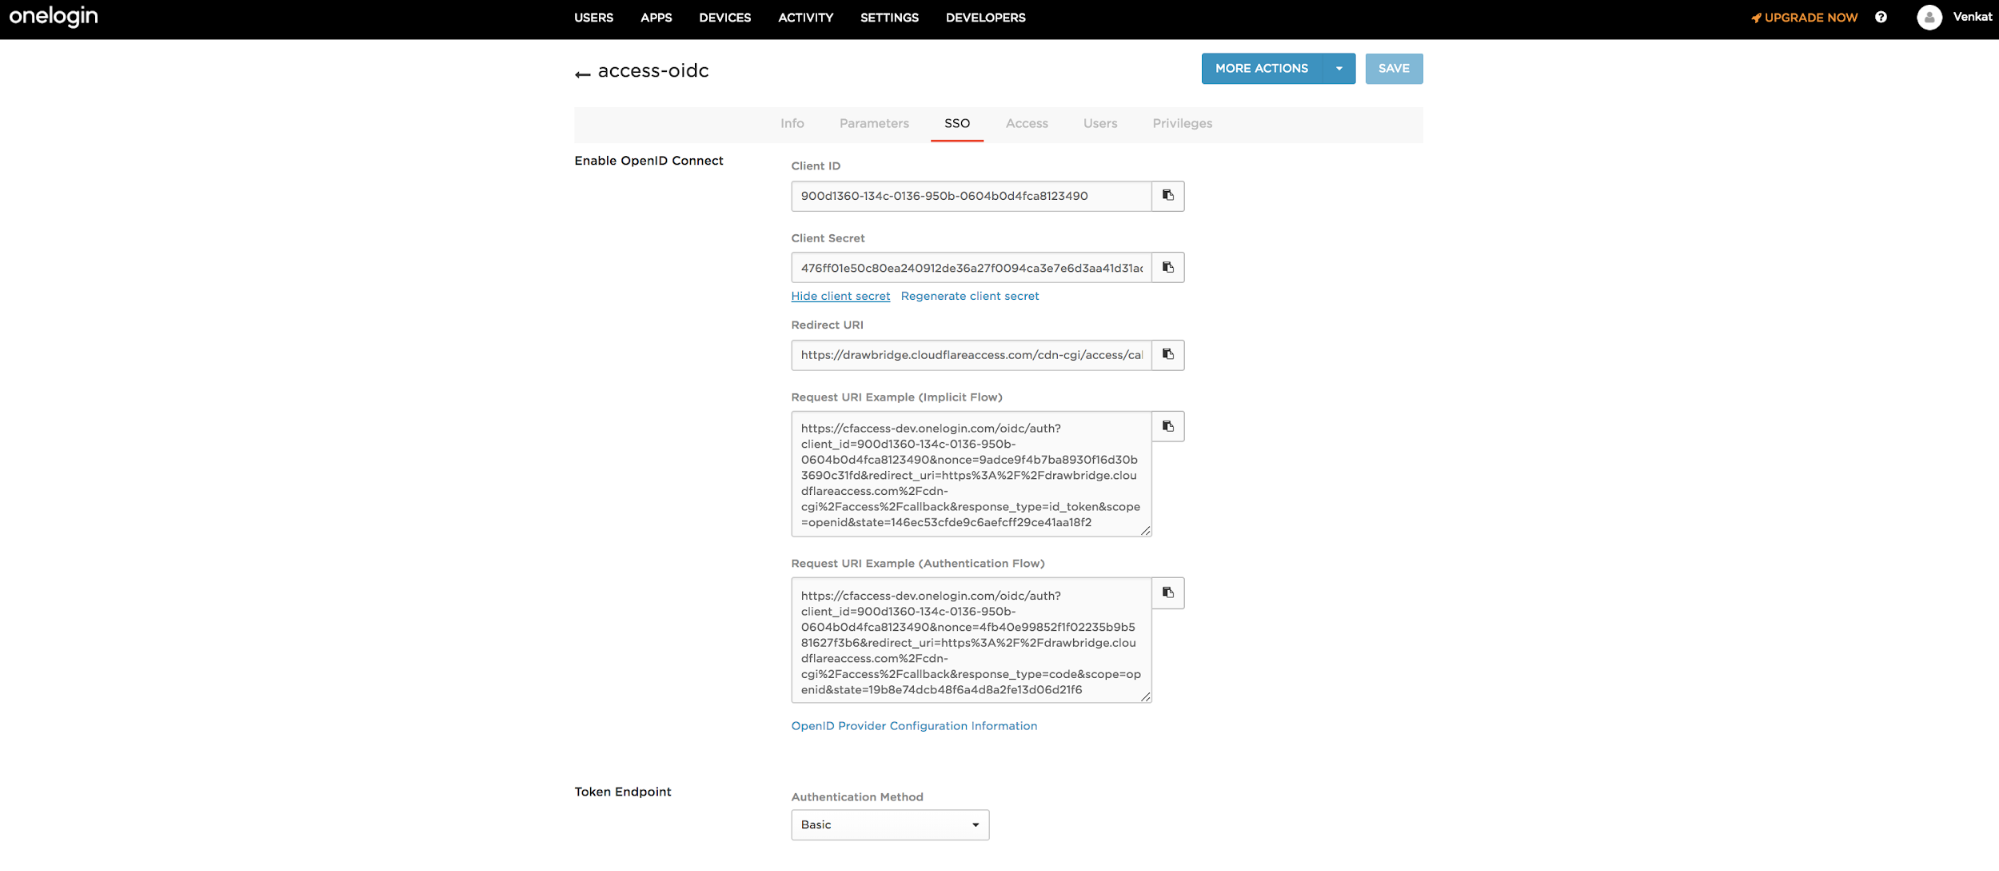
Select the SSO tab.
-
Click Show client secret.
-
Copy both the Client ID and Client Secret.
-
On the Zero Trust dashboard, navigate to Settings > Authentication.
-
Under Login methods, click Add new.
-
Select Centrify as your IdP.
-
Paste in your copied Client ID and Client secret.
-
Click Save.
To test that your connection is working, navigate to Authentication > Login methods and click Test next to OneLogin.
Example API Config
{
  "config": {
    "client_id": "<your client id>",
    "client_secret": "<your client secret>",
    "onelogin_account": "https://mycompany.onelogin.com"
  },
  "type": "onelogin",
  "name": "my example idp"
}