Run a tunnel
| Before you start |
|---|
| 1. Create a Tunnel |
| 2. Configure the Tunnel |
| 3. Configure routing to the Tunnel |
Once you have created a Tunnel and decided how to route traffic to that Tunnel, you can run the Tunnel to proxy incoming traffic from the Tunnel to any number of services running locally on your origin. To begin, run the Tunnel with the following command. The command will connect cloudflared to Cloudflare’s edge, using the configuration supplied. Traffic will route to the Tunnel based on the DNS or Load Balancer settings.
cloudflared tunnel --config path/config.yaml run <NAME>
You can also use the UUID of the Tunnel instead of the Name value.
cloudflared tunnel --config path/config.yaml run <UUID>
You can also specify the Tunnel name or UUID inside of the configuration file, in which case the command below will invoke the run command for that Tunnel.
cloudflared tunnel --config path/config.yaml run
If you do not specify a configuration file location, cloudflared will attempt to read a configuration file in ~/.cloudflared/config.yaml.
When cloudflared receives a HTTP request from the internet it matches the incoming request to an ingress rule from the config file. The ingress rules specify which traffic should go to which local services. See the section on
ingress rules
.
You can also run the Tunnel without a configuration file by appending the flags after the run command and before the name or UUID. Running your tunnel this way will route all traffic to the given URL.
cloudflared tunnel run --url localhost:3000 <NAME or UUID>
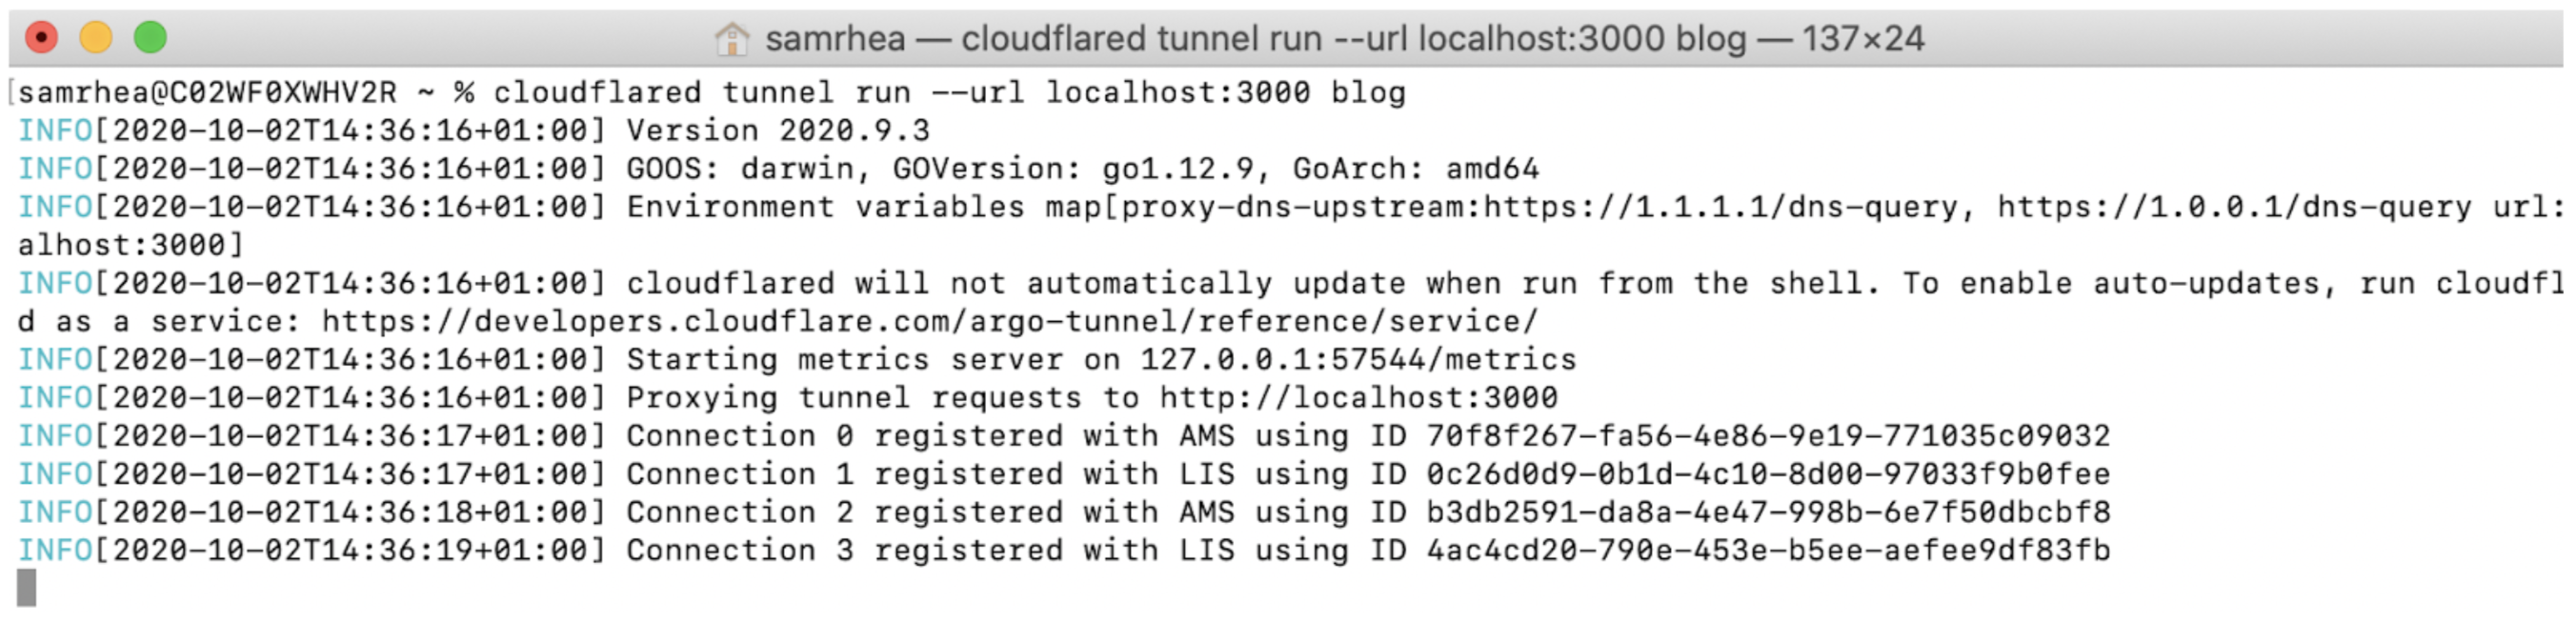
Once run, this command will establish an outbound-only connection to Cloudflare’s edge. That connection will not yet serve traffic. Any requests made to the Tunnel directly will fail. To route traffic from a hostname or load balancer pool, follow the routing instructions .
You can also: