Self-hosted applications
Cloudflare Access allows you to securely publish internal tools and applications to the Internet, by providing an authentication layer using your existing identity providers to control who has access to your applications.
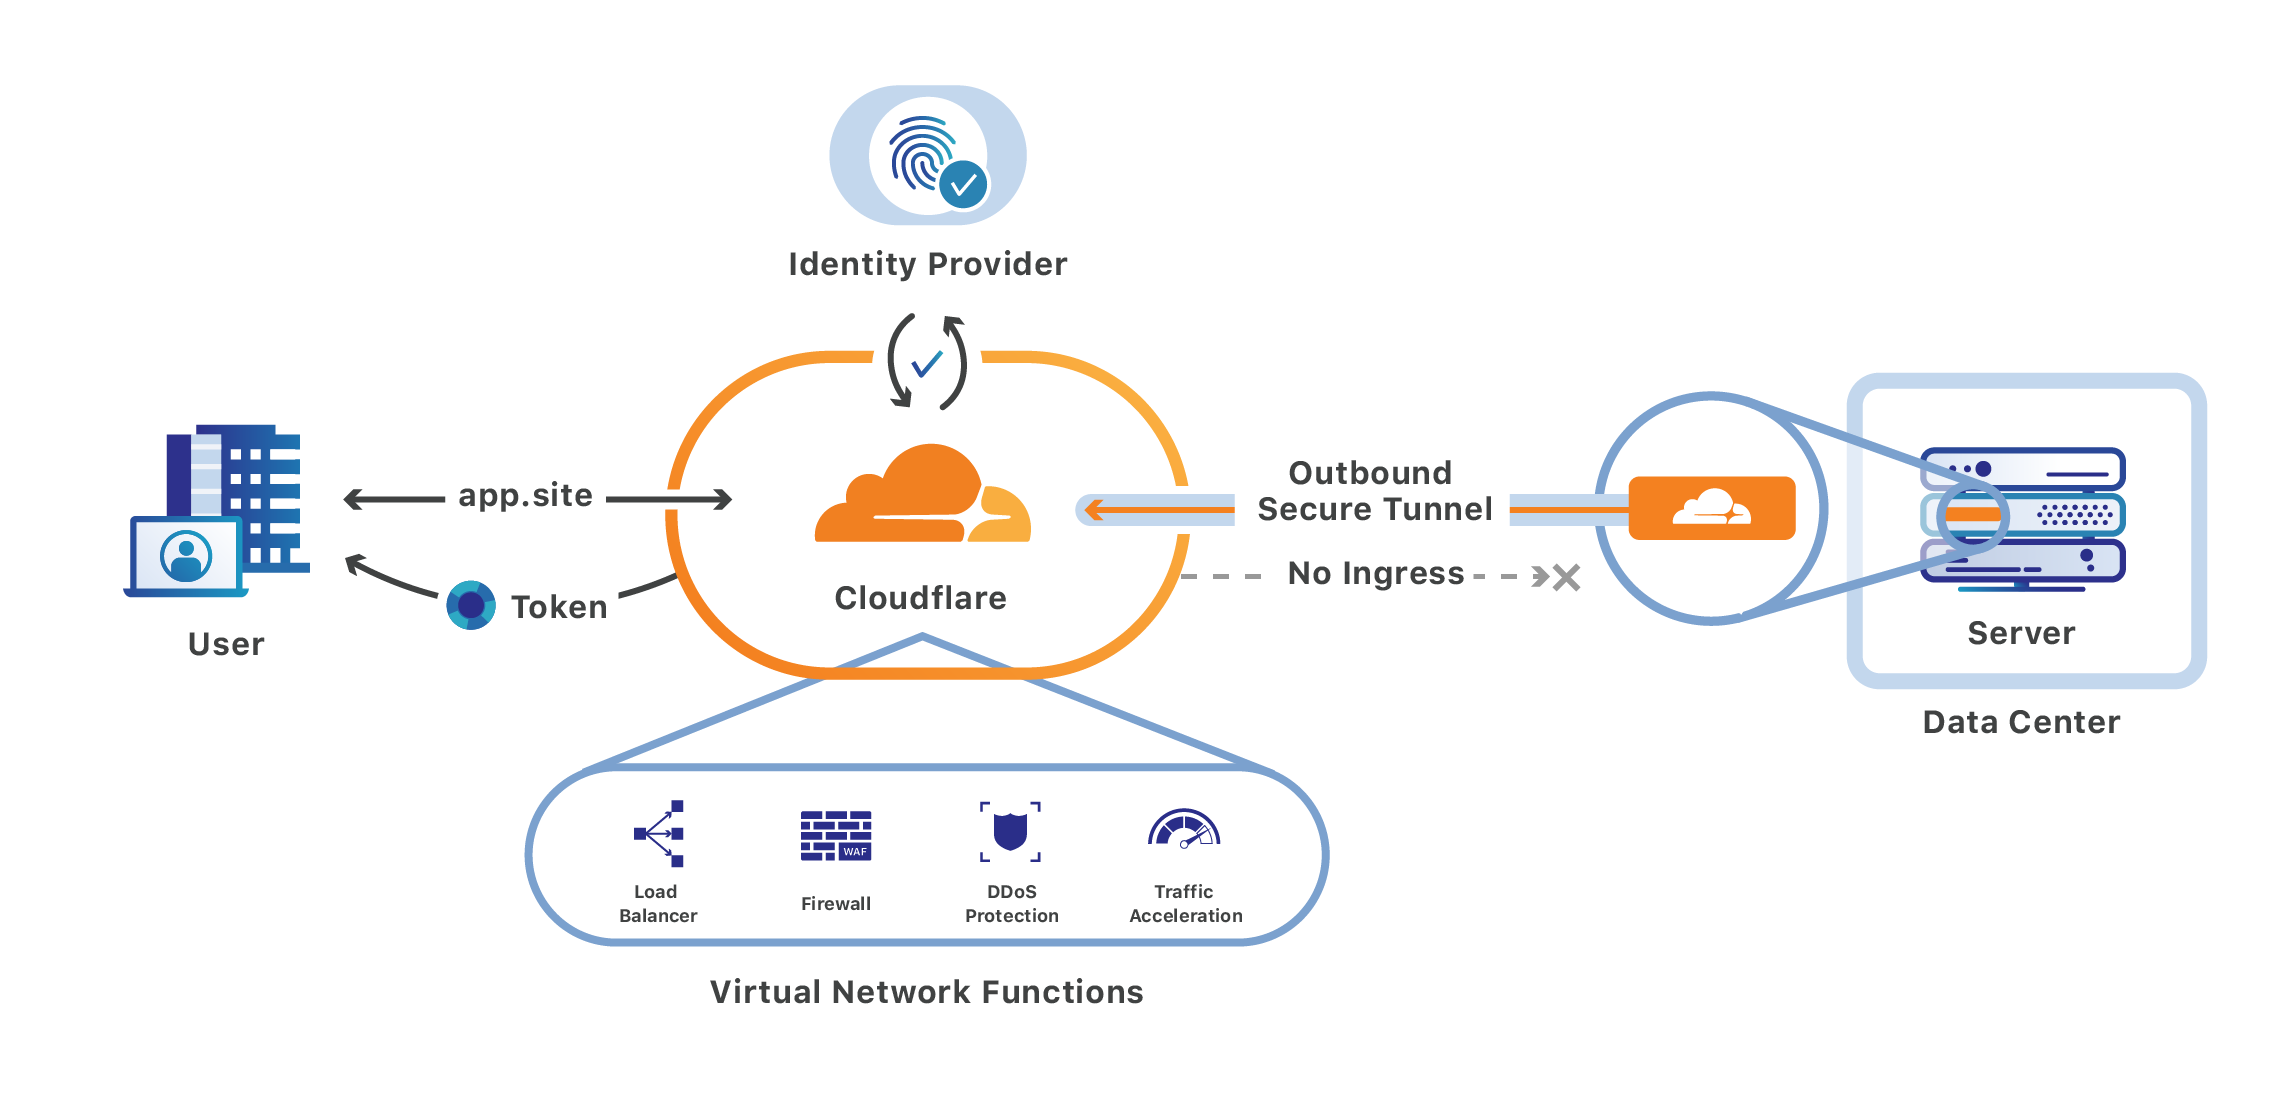
Make sure you create Access policies before connecting your application to Cloudflare. To connect your origin to Cloudflare, you can use Cloudflare Tunnel . If you do not wish to use Cloudflare Tunnel, you must validate the token issued by Cloudflare on your origin.
1. Add your application
-
On the Zero Trust dashboard, navigate to Access > Applications.
-
Click Add an application.
-
Select Self-hosted.
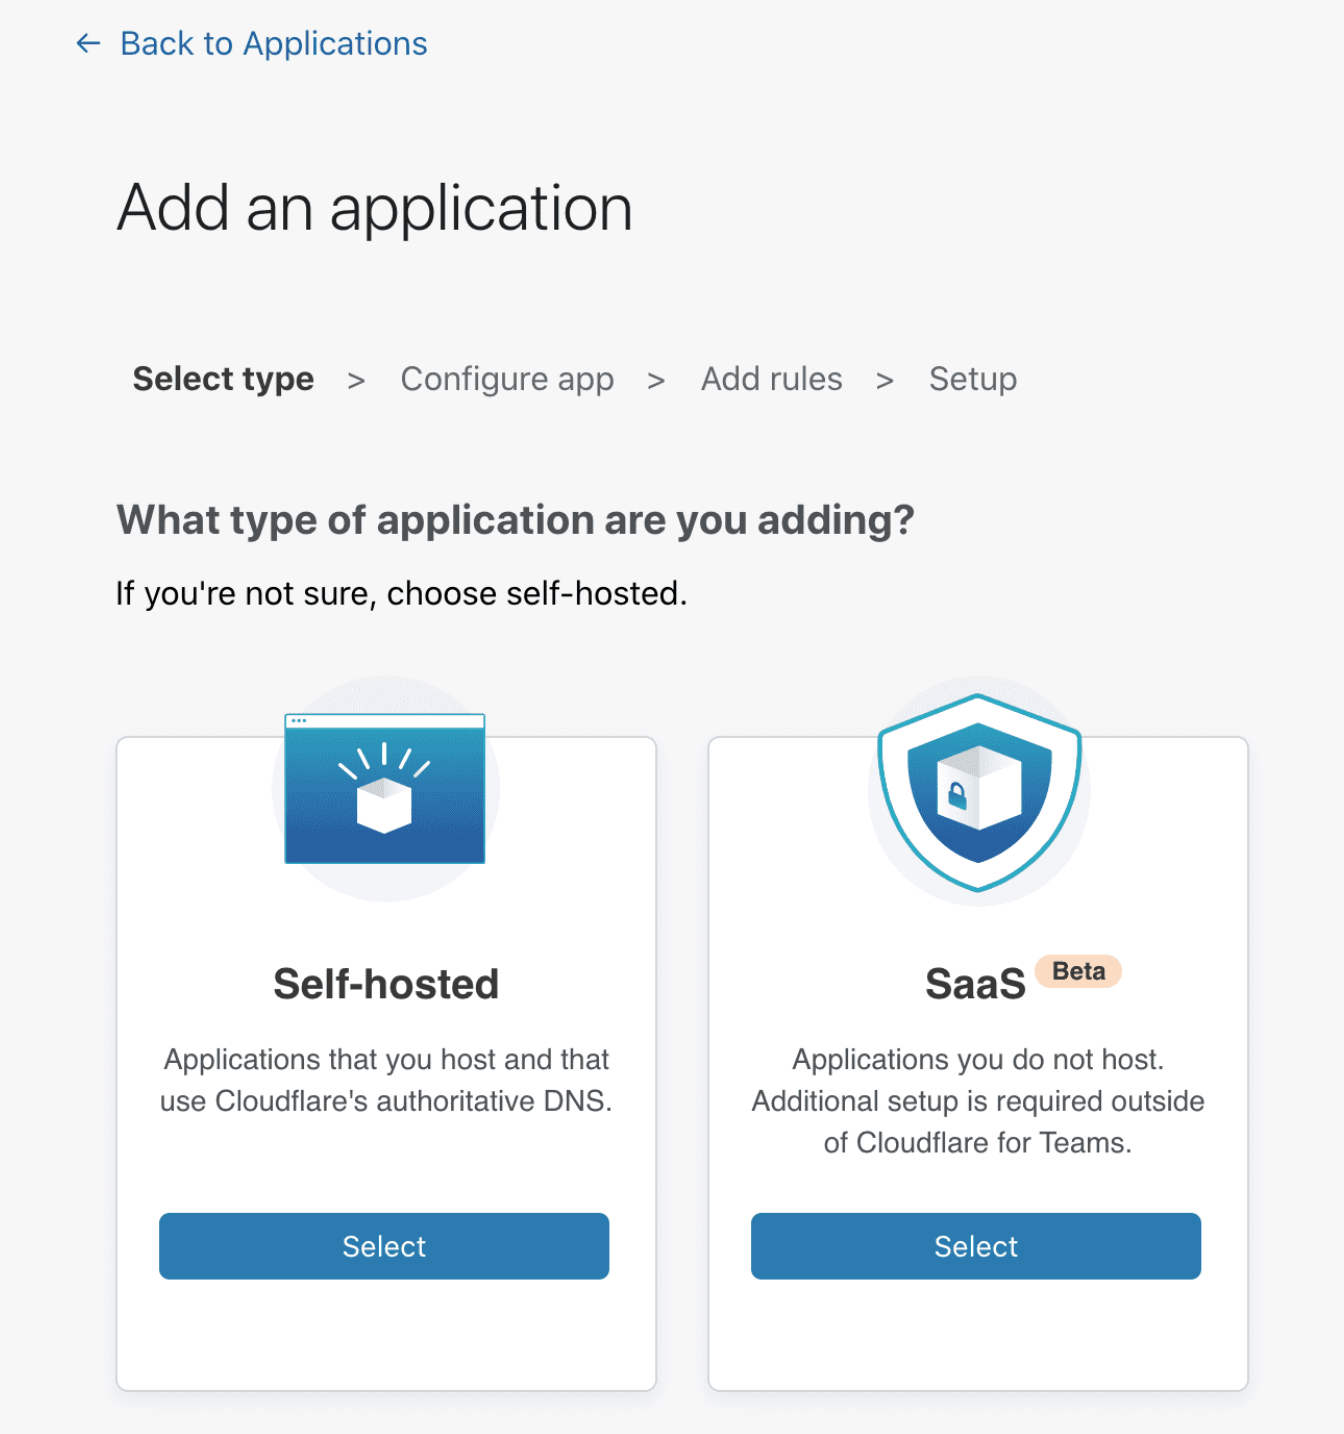
You are now ready to start configuring your app.
-
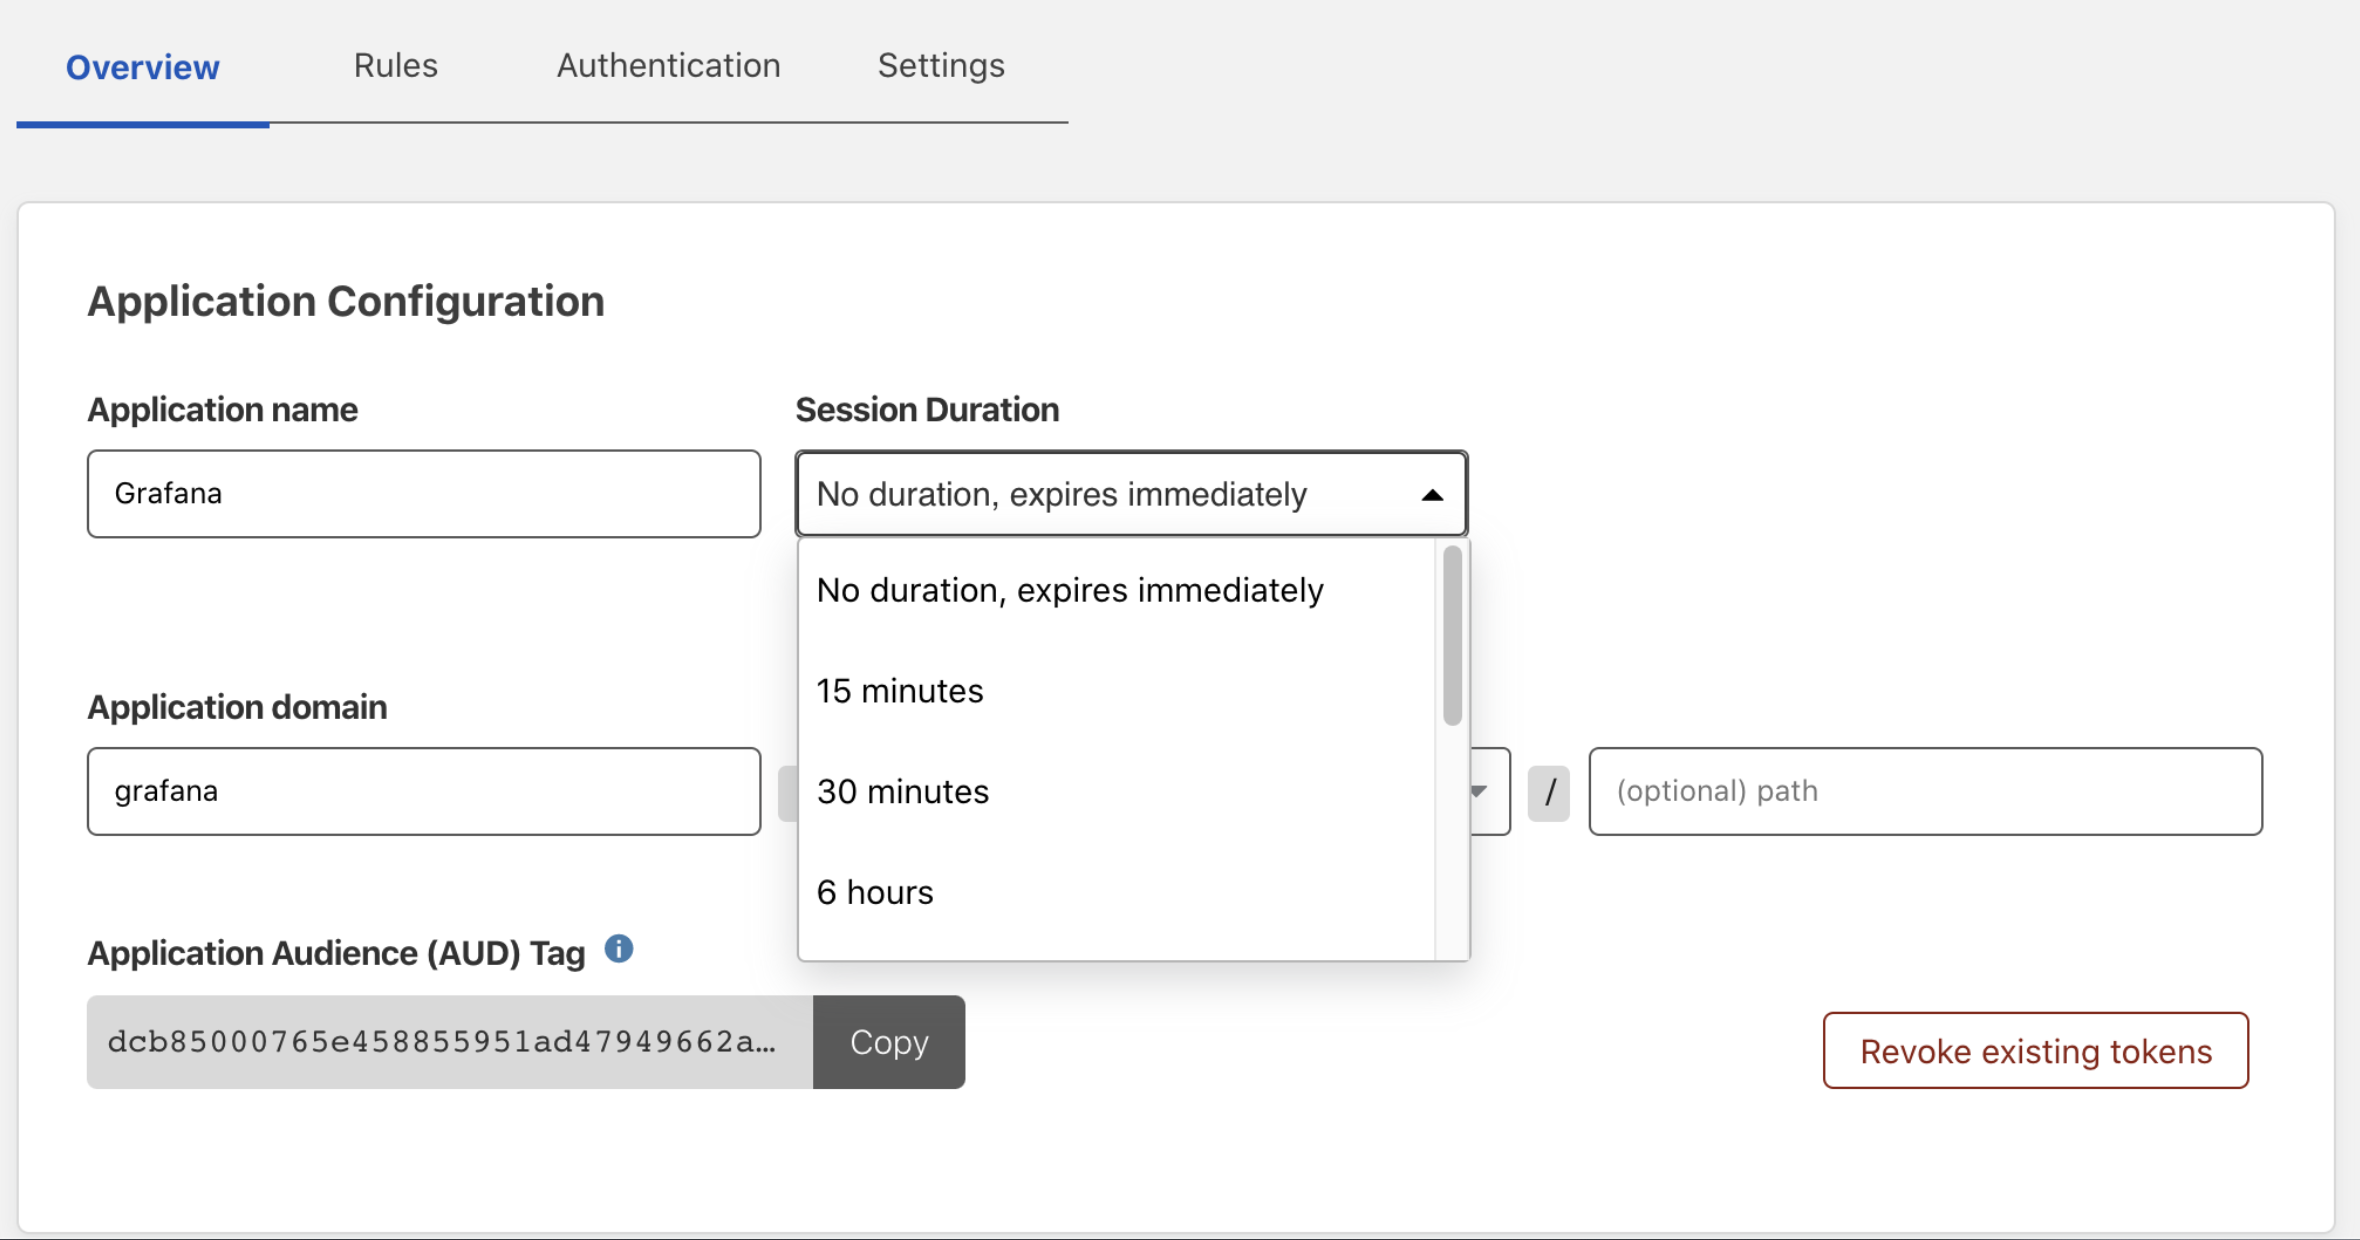
Choose an application name and set a session duration.
-
From the drop-down menu under Application domain, select a hostname that will represent the application. The hostname must be an active zone in your Cloudflare account.
-
Scroll down to the Application visibility card.
* Toggle on **Show application in the App Launcher** if you want the application to be visible in the App Launcher. The toggle does not impact the ability for users to reach the application. Users with no access to the application will not see it in the App Launcher regardless of whether the toggle is enabled. Users with access to the application will still be able to reach it with a direct link. * \[Optional] Add a custom logo for your application by clicking **Custom** and entering a link to your desired image. -
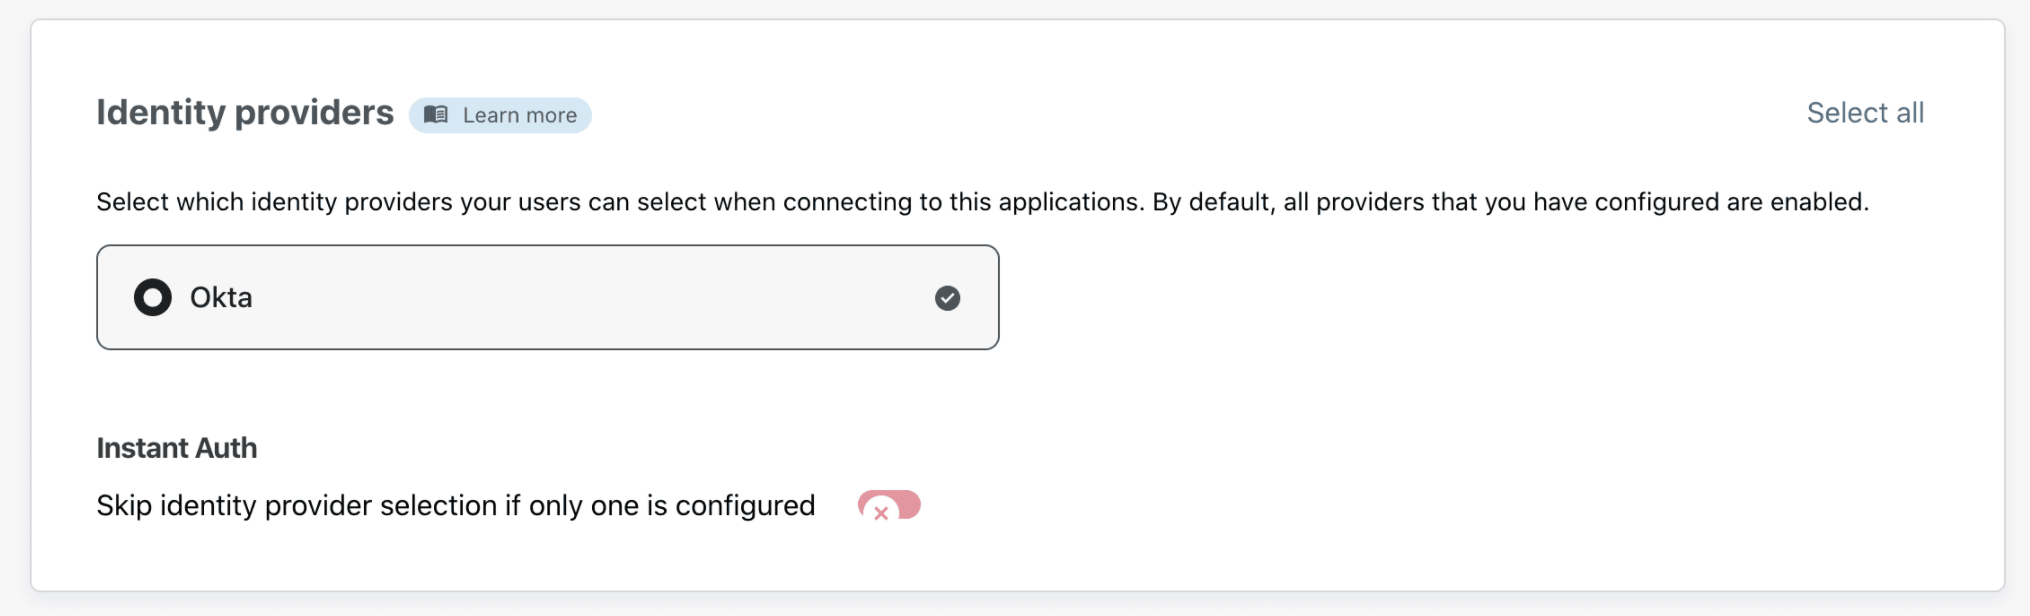
Next, scroll down to the Identity Providers card to select the identity providers you want to enable for your app.
-
Turn on Instant Auth if you are selecting only one login method for your application, and would like your end users to skip the identity provider selection step.
-
Click Next.
2. Add a policy
You can now configure a policy to control who can access your app.
To learn more about how policies work, read our Policies section .
-
First, specify a name for your rule. This is a mandatory field.
-
Specify a policy action.
-
Specify one or more rules in the Configure a rule box. You can add as many include, exception, or require statements as needed.
-
Click Next to add your application to Access.
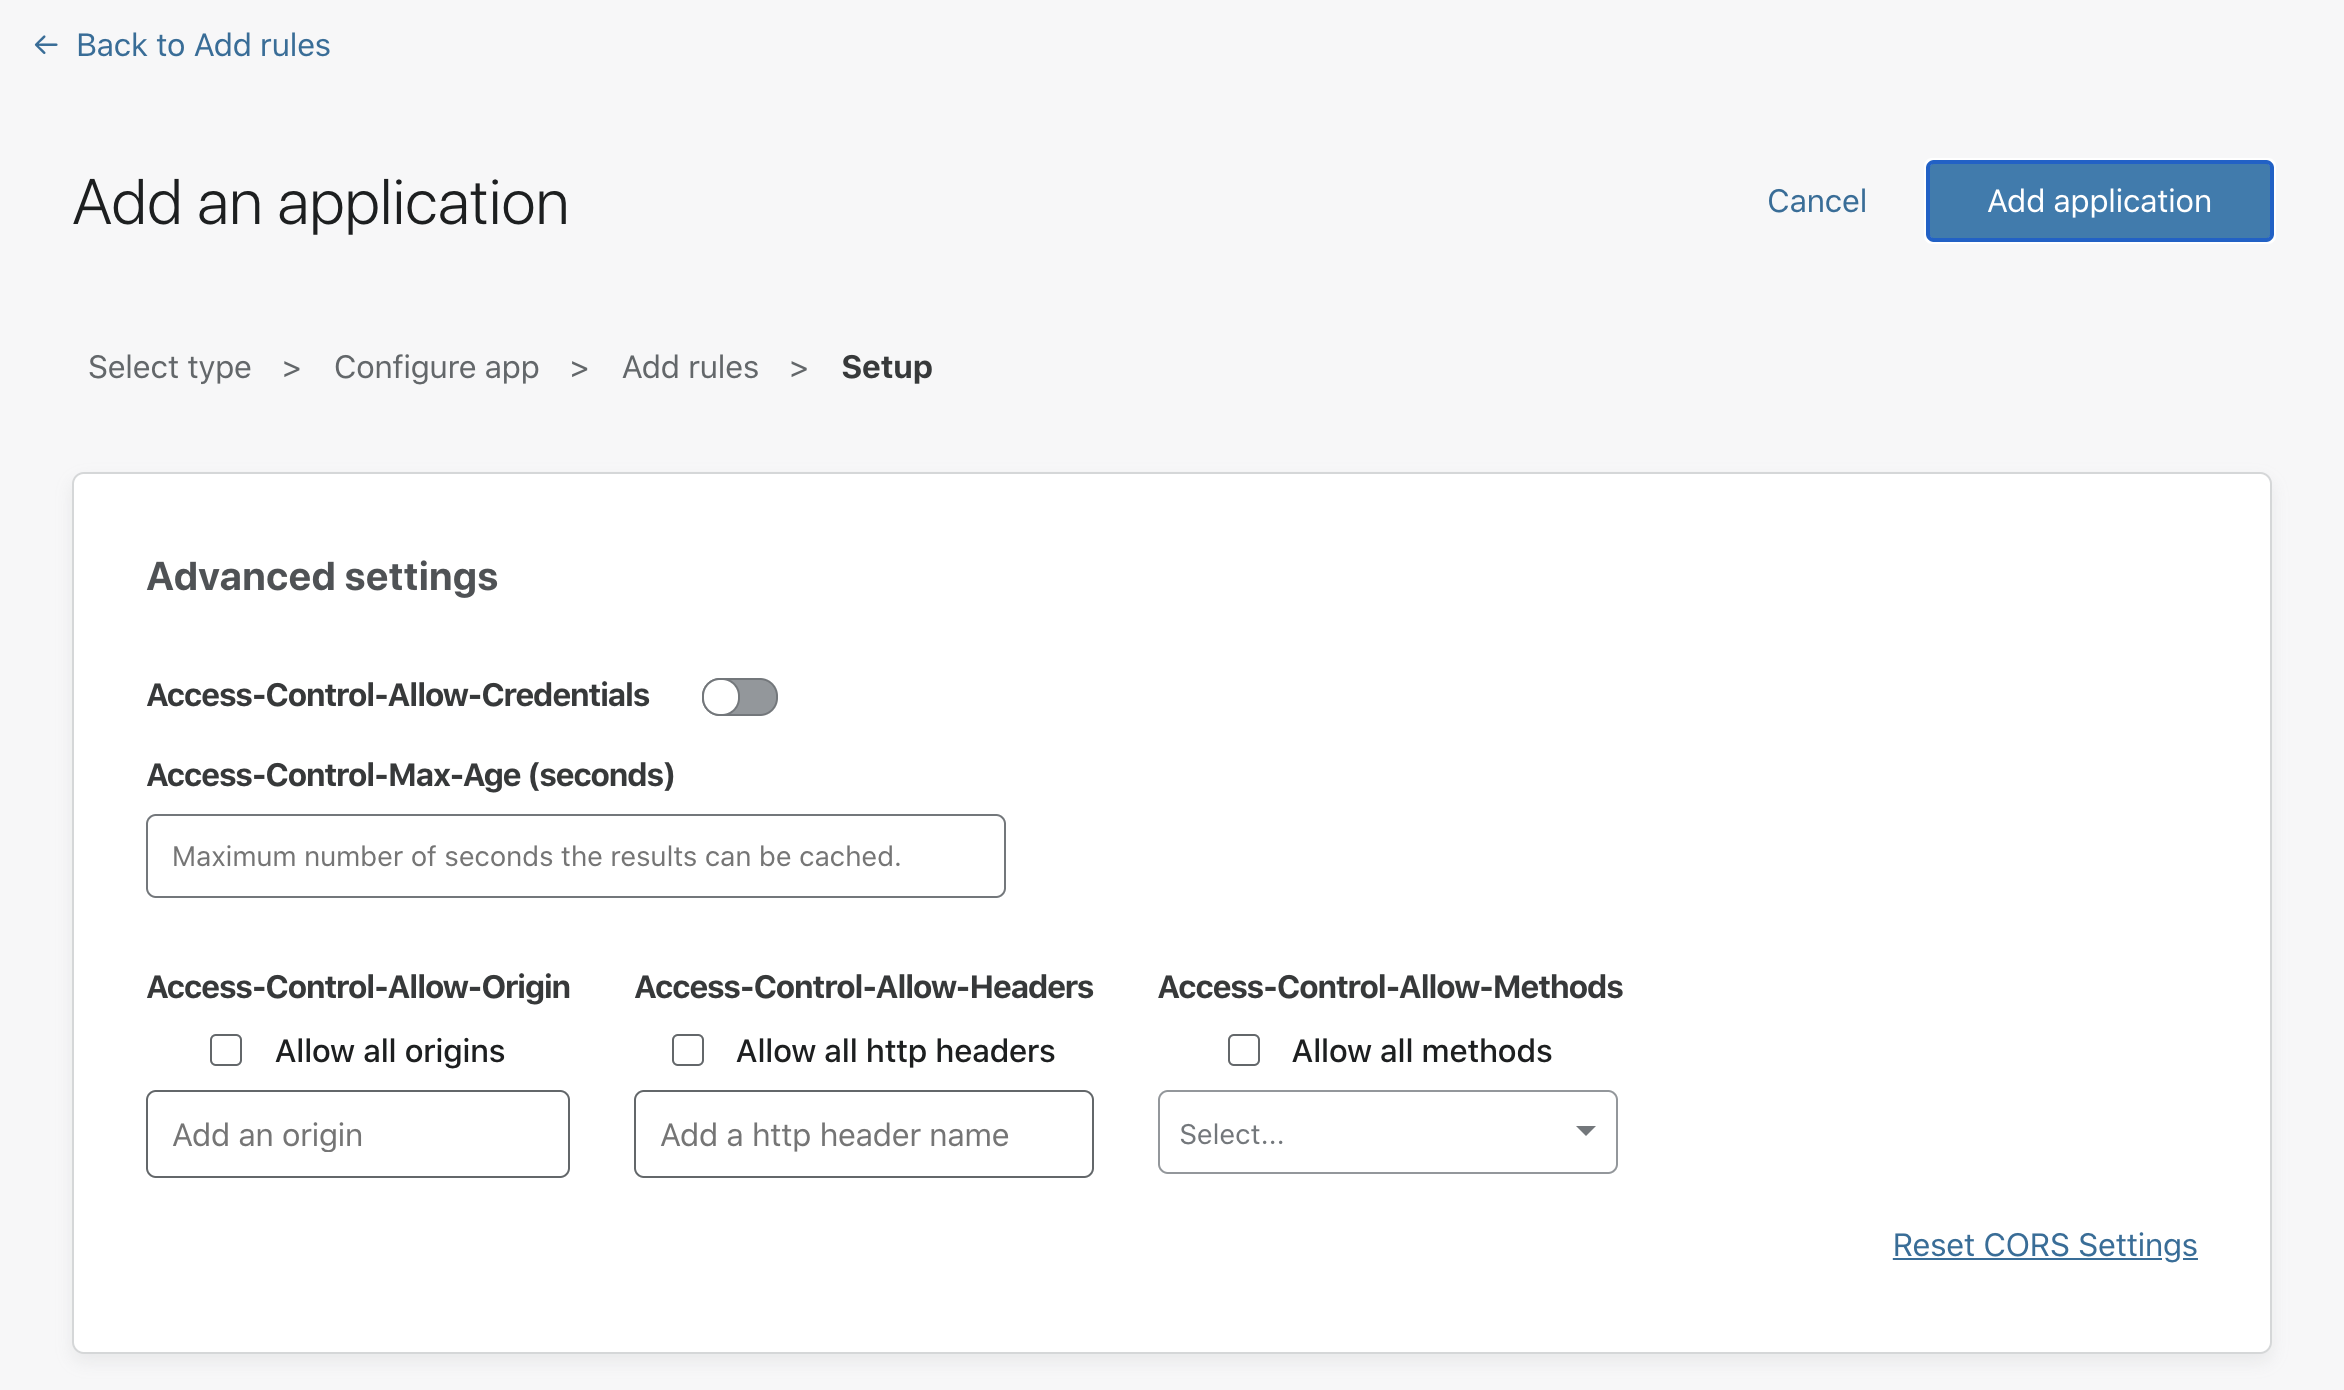
3. Advanced settings
The Setup section allows you to configure a few advanced settings for your application.
- Configure Cross-Origin Resource Sharing (CORS) settings .
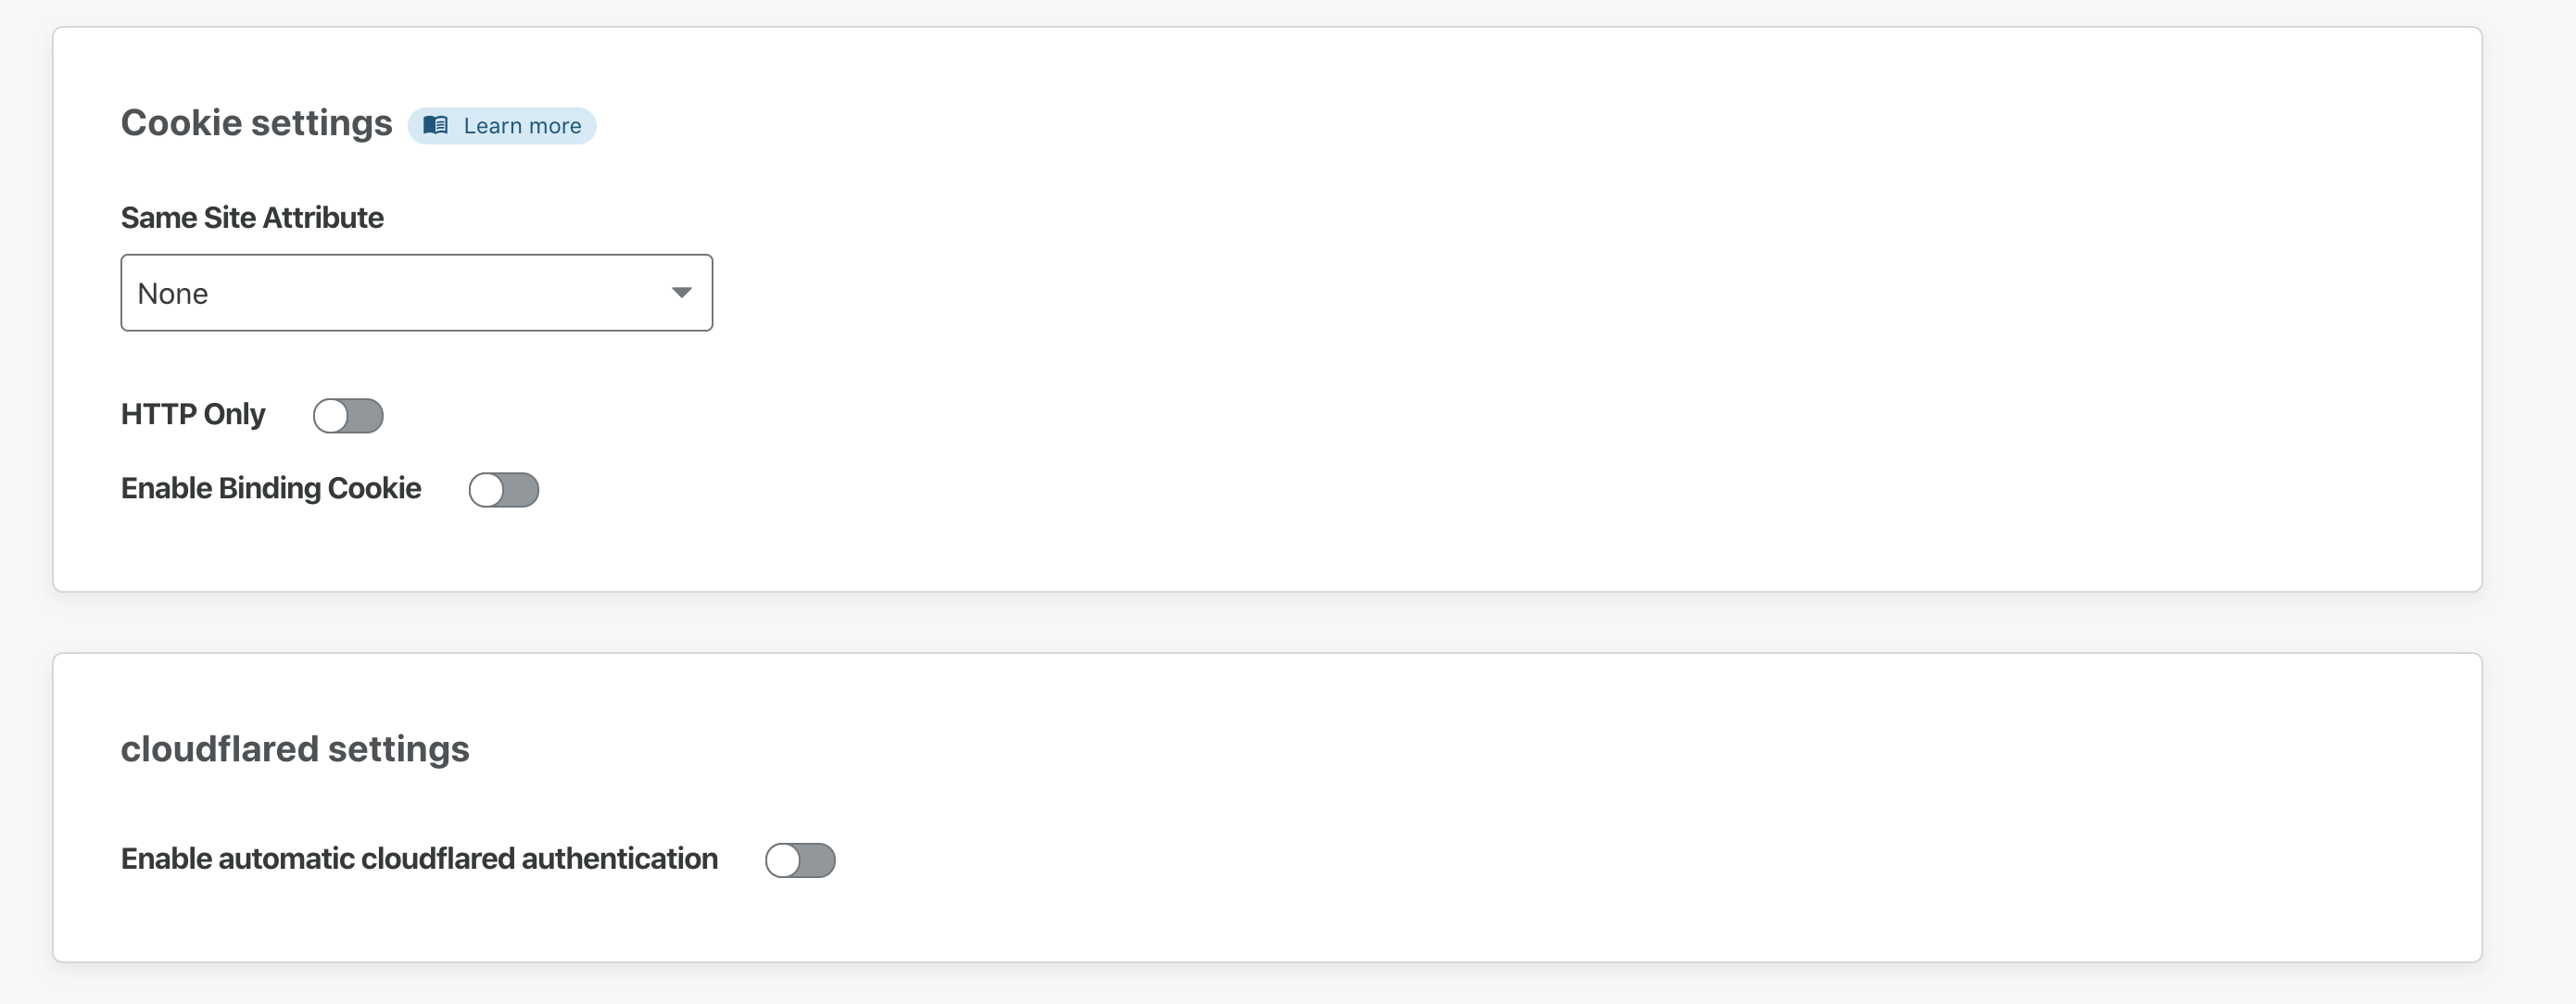
- Configure cookie settings. For more information, you can read about session management here .
-
Configure
cloudflaredsettings. For more information, read more about automaticcloudflaredauthentication . -
Once you’ve configured the settings as needed, click Add application.
Your application is now available in Cloudflare Access, and will appear in your Applications list. You can proceed with connecting your origin to Cloudflare using this address.