Domain Name System Security Extensions
The domain name system (DNS) translates domain names into numeric Internet addresses. However, DNS is a fundamentally insecure protocol. It does not guarantee where DNS records come from and accepts any requests given to it.
DNSSEC creates a secure layer to the domain name system by adding cryptographic signatures to DNS records. By doing so, your request can check the signature to verify that the record you need comes from the authoritative name server and was not altered along the way. Read more about how DNSSEC works on cloudflare.com.
Enabling DNSSEC
Cloudflare Registrar offers one-click DNSSEC activation for free to all customers. You will not need to set the DS record details manually. However, your domain must be using Cloudflare as the authoritative DNS provider .
- Log in to the Cloudflare dashboard and select the account and domain you want to configure.
- Navigate to DNS.
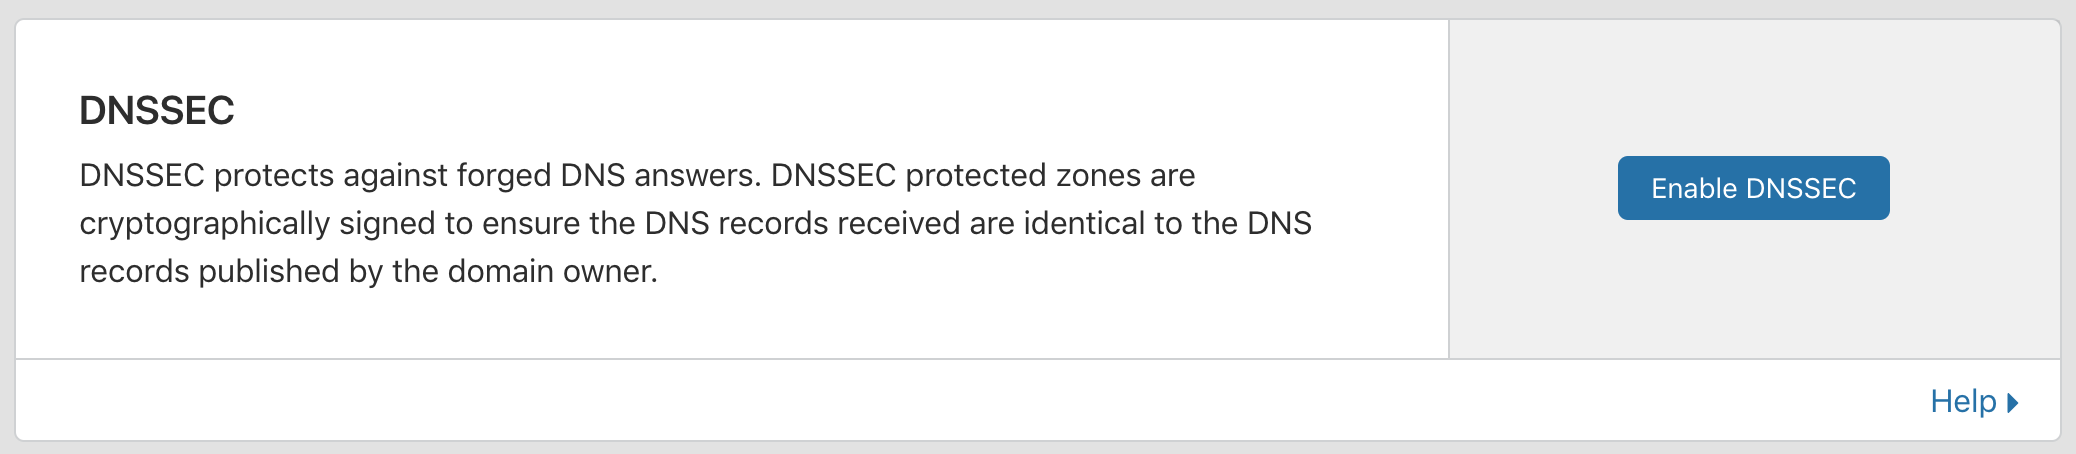
- Scroll down to DNSSEC and click Enable DNSSEC.
- You will be presented with DS record details specific to your domain. You do not need to copy these or manually enter them when you are using Cloudflare Registrar. Instead, select Confirm.
Cloudflare will publish those DS details in the form of CDS and CDNSKEY records for a domain delegated to Cloudflare. The Cloudflare Registrar scans those records at regular intervals. When Cloudflare notices you have enabled DNSSEC, Cloudflare gathers those details and sends them to your domain’s registry.
This process can take one to two days after you first enable DNSSEC.
Confirming DNSSEC
When DNSSEC has been successfully applied to your domain, you will see a confirmed status in the DNSSEC card where you first selected Enable. You can also confirm this by reviewing the WHOIS information for your domain. Domains with DNSSEC will read signedDelegation in the DNSSEC field.